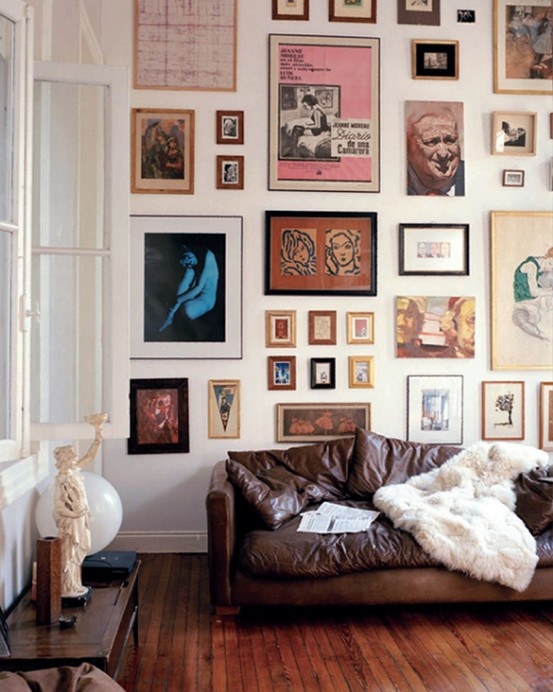
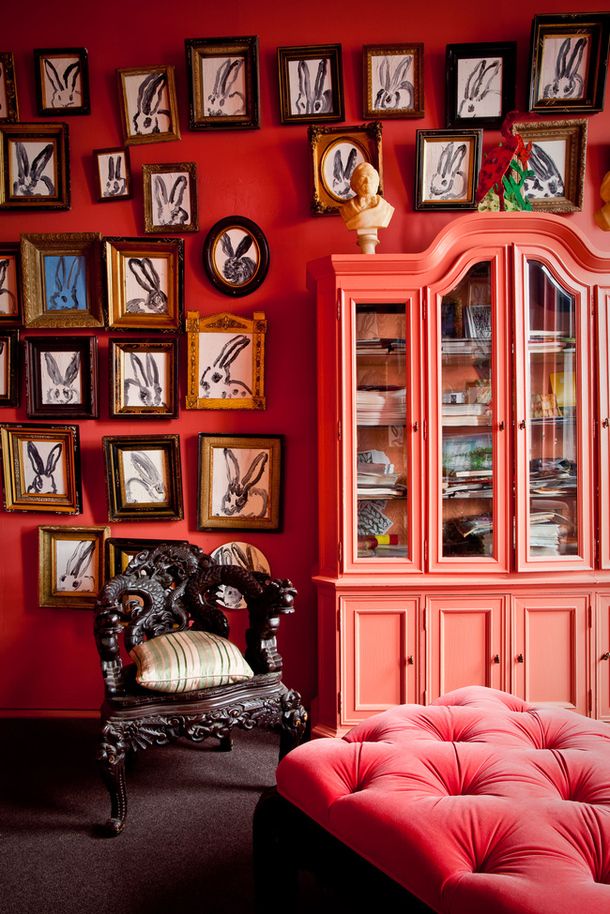
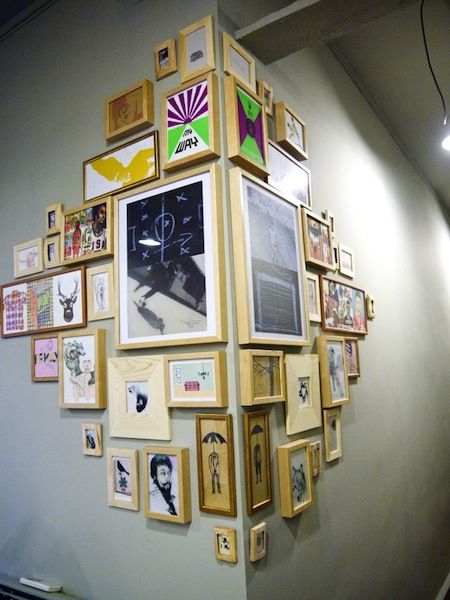
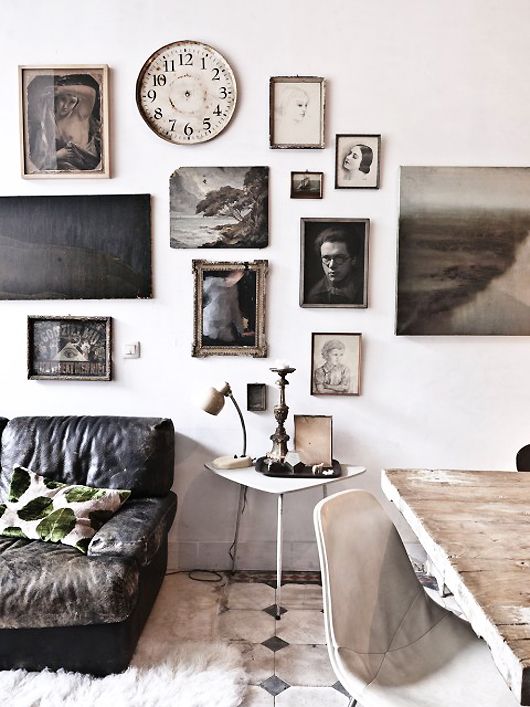
For our final Curate Your Walls! post, we decided to test a few art installation tutorials that we came across online and summarize our findings for you. Whether your goal is to create a unified display of prints and photographs or to achieve an eclectic look with combinations of photography, paintings, and art objects, all of these tips streamline the process and make it that much easier to dress up your empty walls. At the end of our post we also list some great sites for affordable ready-made and custom frames, banishing any remaining excuses for the art collecting dust in your closet. Brush off those paintings you’ve “been meaning to put up,” and we’ll show you how to create a beautiful salon-style gallery wall. Make sure you check out our Pinterest board for more art installation ideas and unique gallery wall example and inspiration photos!


Supply list:
- Hammer
- Scissors
- Level
- Painter’s tape
- Butcher block paper
- Tape measurer
- Pencil
- Ook Picture Hangers –**make sure to get the correct kind for your wall (brick nails vs. nails for sheetrock or plaster) and take the weight of your artwork into account (10lbs, 20lbs, 50lbs, etc.).
TIP 1 : FIND YOUR CENTER
These are great tips on finding the center whether you’re hanging one piece of art or ten! Measure the width of the wall space where you would like to hang your art, divide it by two and mark the center with a pencil. To get the height, measure 57-60” from the floor. Bring your width point to meet your height point and mark it--this is the best height to hang artwork since it’s the average human eye level (what most museums and galleries use). If you are doing a salon-style installation, hang your art around this center point. If you are hanging above your sofa, make sure to leave approximately an 8” - 10” clearance.
If you are hanging one piece of art, this fool-proof formula from Apartment Therapy helps you find exactly where to hammer in the nail once you have found your center point:
1. Measure and lightly mark 57" on the wall
2. Measure top of your picture to the middle (or take height and divide by 2)
3. Measure top of your picture to the tightened wire (a small amount)
4. Subtract this last amount to tell you how far above 57" your hook should go
5. Measure up from 57" with this last amount and lightly mark on the wall
TIP 2: WHEN IN DOUBT, LAY IT OUT
Put the butcher block paper on the floor in front of your wall and lay your framed pieces over it. Start with your center piece (it doesn't have to be the biggest, but should be a considerable size), and move outward. Keep moving your pieces around until you like the configuration. Trace the frames with a pencil, mark where the anchors/nails will go, and then cut out the template. Tape your layout on the wall using painter’s tape and play with the space between frames. Have fun—it doesn’t have to be perfectly spaced – that’s the point! Move it around if you want to try out any last minute changes.
*Note about photo to right -- we used newsprint here, but learned that it can smudge white walls! That's why we recommend butcher block paper.
TIP 3: HIT THE NAIL ON THE HEAD
Find the corresponding hooks for each frame, make sure you marked the right spots on your templates, and then nail in the hooks straight through the paper and tear the paper away once you’re done. For larger pieces, it’s sometimes better to use two hooks for extra support and to ensure the piece hangs correctly. Use the level to make sure the frames are hanging straight.
TIP 4: THINK OF IT AS A WORK IN PROGRESS
Think of yourself as Gertrude Stein living in Paris in beginning of the 20th century collecting all of the up and coming modern artists! What do you think Gerty did when she acquired a new Matisse?! The works went up the ceiling and all around her walls. As your collection grows add the new pieces above, below, or to the side, or if you don’t like where something is placed, cover the hole with another piece or it patch up and reposition. Spontaneity and creativity are what give a salon-style gallery wall such personality.
Frame resources:
- Pottery Barn - always has great sales of their simple wood frames
- A.I. Friedman – nice wide selection of affordable ready-mades
- Framed & Matted – awesome company that offers an easy step by step application that helps you custom design your own frame and mat, which they send you in the mail along with simple instructions on how to put it together
- Michael’s -- all kinds of affordable frame options and diy kits to help you custom frame
Additional Tutorials
- Bill Powers via YouTube for One Kings Lane
- Bill Powers via Refinery 29
- Pottery Barn Memory Wall


